
Build It on Paper First: The 10-Minute Walkthrough That Decides Any Project
Before the first cut, walk the whole plan once with a pencil. Ten minutes of reading in the right order catches the mistakes that lumber can't undo.

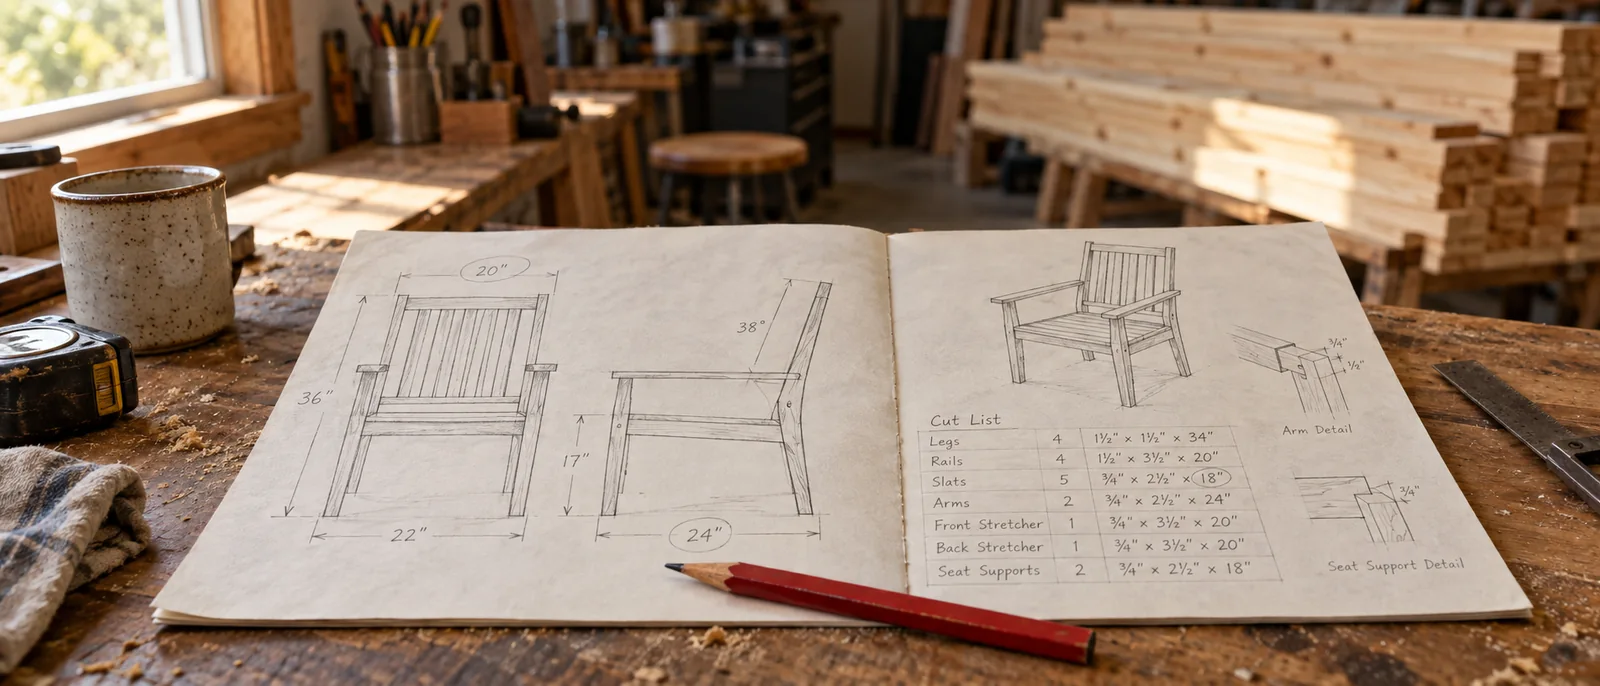
Most projects don't fail at the saw. They fail in the first ten minutes, before a board is touched, because the plan was read the way most people read plans: skim the drawing, glance at the cut list, start cutting the first piece. A plan is not a picture of the finished piece. It is a sequence, and the sequence only works if you've walked it once from start to finish before you begin. This walkthrough takes about ten minutes with a pencil and the plan, and it works the same whether it's your first project or your hundredth.
01 / WORKSHOP PRACTICERead the whole plan before you touch a board
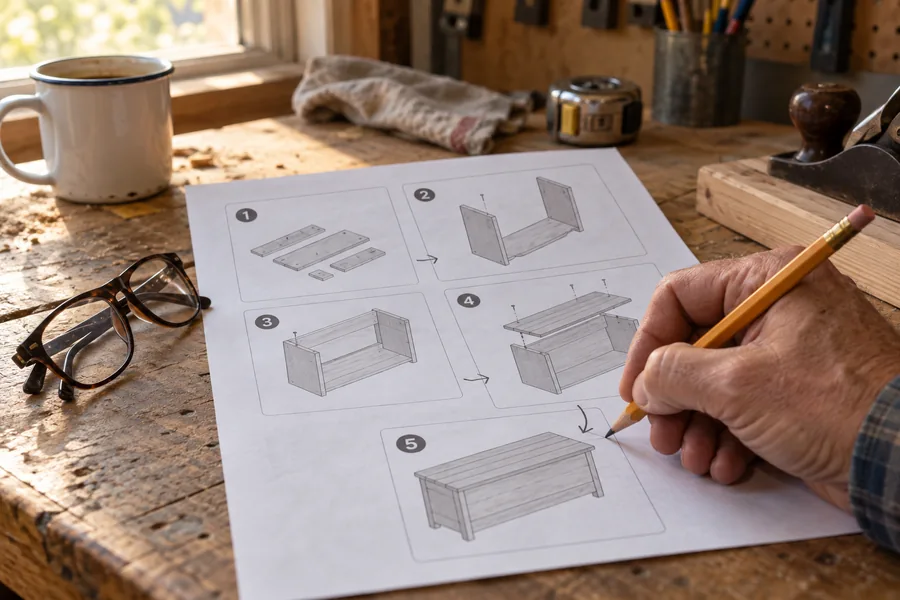
Start at the last step and read backwards to the first. Reading in reverse forces you to notice what each step depends on: the shelf can't go in until the sides are grooved, the sides can't be grooved until they're cut to final width. Any step that needs something you haven't done yet is a step the plan may have out of order, or a step you'd have found out about with the glue already drying.
While you read, mark every measurement that appears in more than one place. If the drawing says 31 3/4 inches and the cut list says 31 1/2, you've just found a discrepancy to resolve before assembly. Check whether the figures refer to rough or finished dimensions before treating them as an error. Plans drawn on a screen and never built can hide these conflicts. Ten minutes with a pencil can catch them before they cost you lumber.
02 / WORKSHOP PRACTICEClose the cut list against the material list
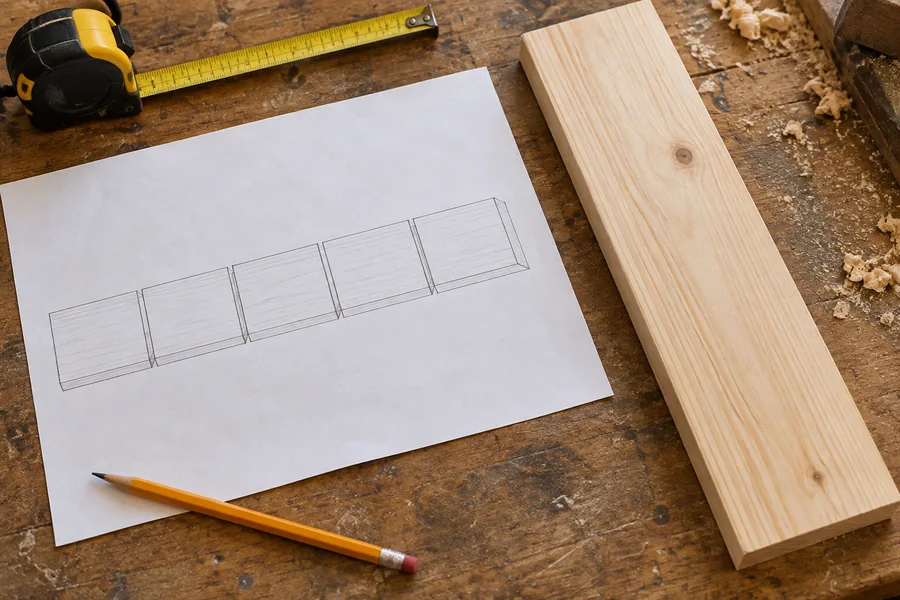
Add up the cut list by board. Every piece has to come out of a specific length of lumber, and the plan's material list is a promise that it does. Sketch each board as a long rectangle and lay the pieces along it, leaving the width of a saw kerf between them and an allowance for trimming ends and avoiding defects. Check actual stock dimensions, too. If the pieces don't fit, resolve the layout or material allowance before cutting, rather than discovering the shortage on a second trip to the store.
This is also where you decide which pieces come from the best stock. Visible faces and the parts that carry weight get sound boards with suitable grain and dimensions. A hidden face may tolerate a cosmetic blemish, but knots, splits, and grain defects still matter in shelves, joints, and other load-bearing parts. Deciding this on paper helps you reserve the best stock for the places that need it.
03 / WORKSHOP PRACTICEPick one reference edge and mark it
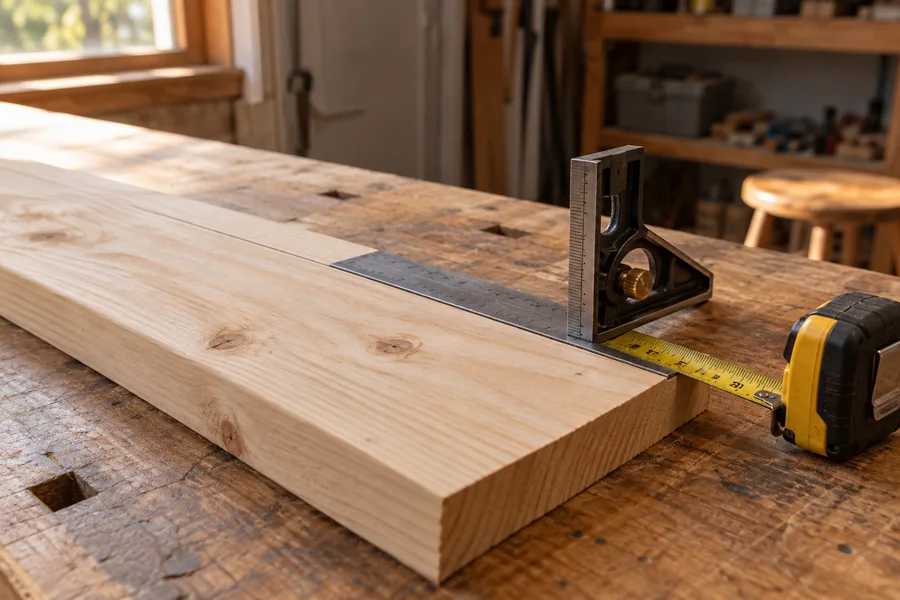
Choose a straight reference edge and a flat reference face on each prepared board before laying out the joinery, and mark them clearly in pencil. Use those same references for related measurements and tool setups. Measuring from one edge for one operation and from the opposite edge for the next is how a sixteenth of an inch appears from nowhere and the last joint refuses to close.
The same rule applies to the tools. Use one checked tape measure and one checked square for the project. Different tapes, damaged hooks, or worn markings can introduce discrepancies. To check the square, draw a line from a verified straight edge, flip the square against that same edge, and compare the blade with the line. Any divergence needs investigation. Check at the start, and recheck if the square is dropped, knocked, or gives a doubtful result.
04 / WORKSHOP PRACTICEDry-fit the first joint before you cut the rest
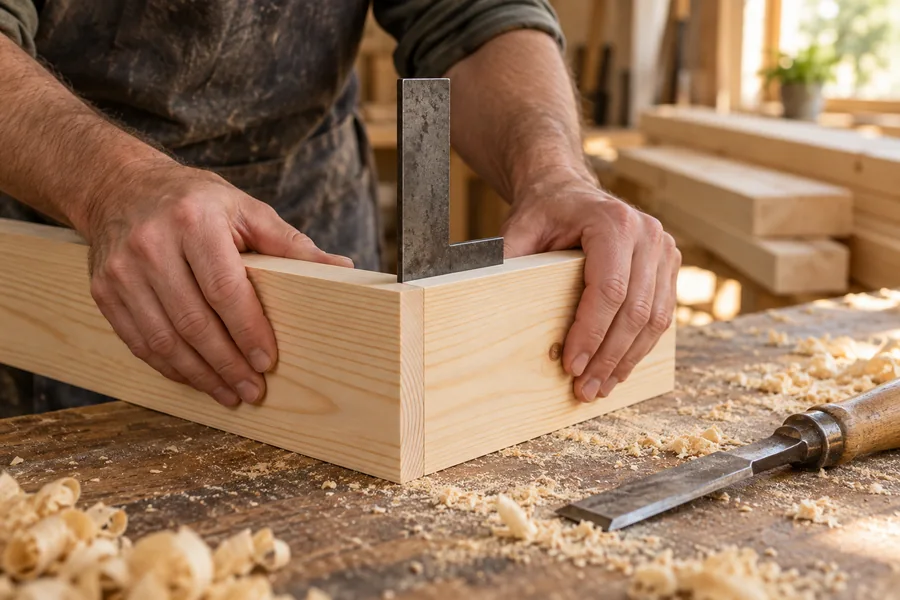
Before starting the saw, identify the first joint you will test. Then cut only the pieces needed for that joint and fit them without glue. A tight, square fit validates that joint and its setup—not every number in the plan. Continue checking later joints and dimensions as the build progresses. If the first fit is wrong, you've caught the problem before repeating it across the rest of your stock.
This is the step almost everyone skips, because it feels slow. It can be the fastest thing in the whole build. A dry fit takes a few minutes; refitting a whole carcass with the joints already cut can consume a weekend. Mark the planned test during your ten-minute paper walkthrough, then make it the first checkpoint when cutting begins.
Your workshop checklist
Tick these off as you prepare. Checks reset when you reload.
None of this needs a new tool or a better plan. It needs ten minutes and the discipline to spend them before the saw is on. Do the walkthrough on the first plan you build from the collection, and the second one will go faster than you expect, because you'll already know where plans hide their mistakes.
Further reading: Starrett: checking a combination square.
Make it a great day in the shop.