
Choosing Wood for Your Next Project
Choose boards around the job they need to do, then inspect the material before bringing it home.

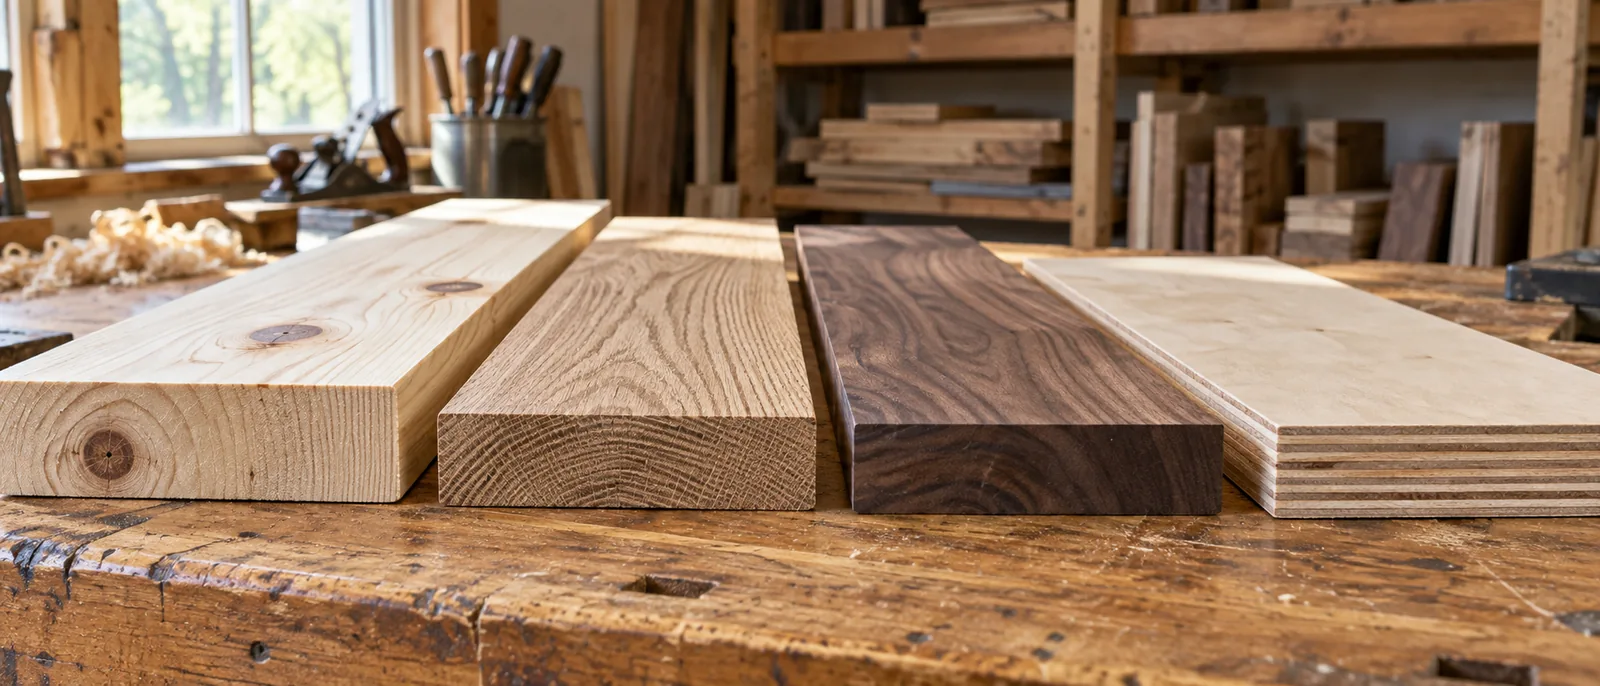
The most attractive board in the rack is not always the best board for your project. Start with the plan and the finished piece's surroundings, then look for material that fits both.
01 / WORKSHOP PRACTICELet the project set the requirements
Write down whether the piece will live indoors or outdoors, carry weight, receive paint, or show its grain. These choices affect material selection. Follow a proven plan's specifications for load-bearing parts rather than replacing them with whatever is cheapest.
The words hardwood and softwood do not describe every board's dent resistance or suitability. Compare the properties of the specific species and grade you are considering. When in doubt, ask the lumber supplier for material suited to the intended use and your tools.
02 / WORKSHOP PRACTICEDecide how much preparation you can do
Rough lumber and surfaced boards can require very different amounts of work before they reach finished size. If you do not have a way to flatten and thickness stock safely, material already prepared close to your needs may make the project more manageable.
Measure the actual thickness and width. Check the plan's assumptions before substituting sheet material or another species. Plywood also varies by grade, thickness, and intended exposure; the attractive face alone does not tell you whether a panel suits the job.
03 / WORKSHOP PRACTICEInspect usable wood, not just board length
Look along each board and across its face for obvious bowing, twisting, cracks, and damaged edges. Examine both faces. Decide whether defects fall inside a needed part or in an area you can leave out of the layout.
Bring a rough cut list so you can picture your parts in the available stock. A long board with a split through the middle may provide less useful material than a shorter, straighter one. Allow material for your cutting and preparation process without assuming that every inch will become a finished part.
04 / WORKSHOP PRACTICEKeep the selection organized at home
Label the stock for the project and store it dry, supported, and away from direct contact with a damp floor. Ask your supplier about its condition and moisture suitability. Do not assume that a fixed number of days in the garage makes any board ready to build.
Before cutting, arrange the visible parts to judge grain and color together. Save an offcut from the actual stock for a finish sample. If you discover a questionable piece, change the layout or replace it before the whole project depends on it.
Your workshop checklist
Tick these off as you prepare. Checks reset when you reload.
Buying wood is part of the build. A few careful checks at the rack can save you from spending the weekend trying to make an unsuitable board behave.
Make it a great day in the shop.