
How to Read a Woodworking Plan Without Getting Lost
Turn drawings, dimensions, and a cut list into a sequence you can follow at the bench.

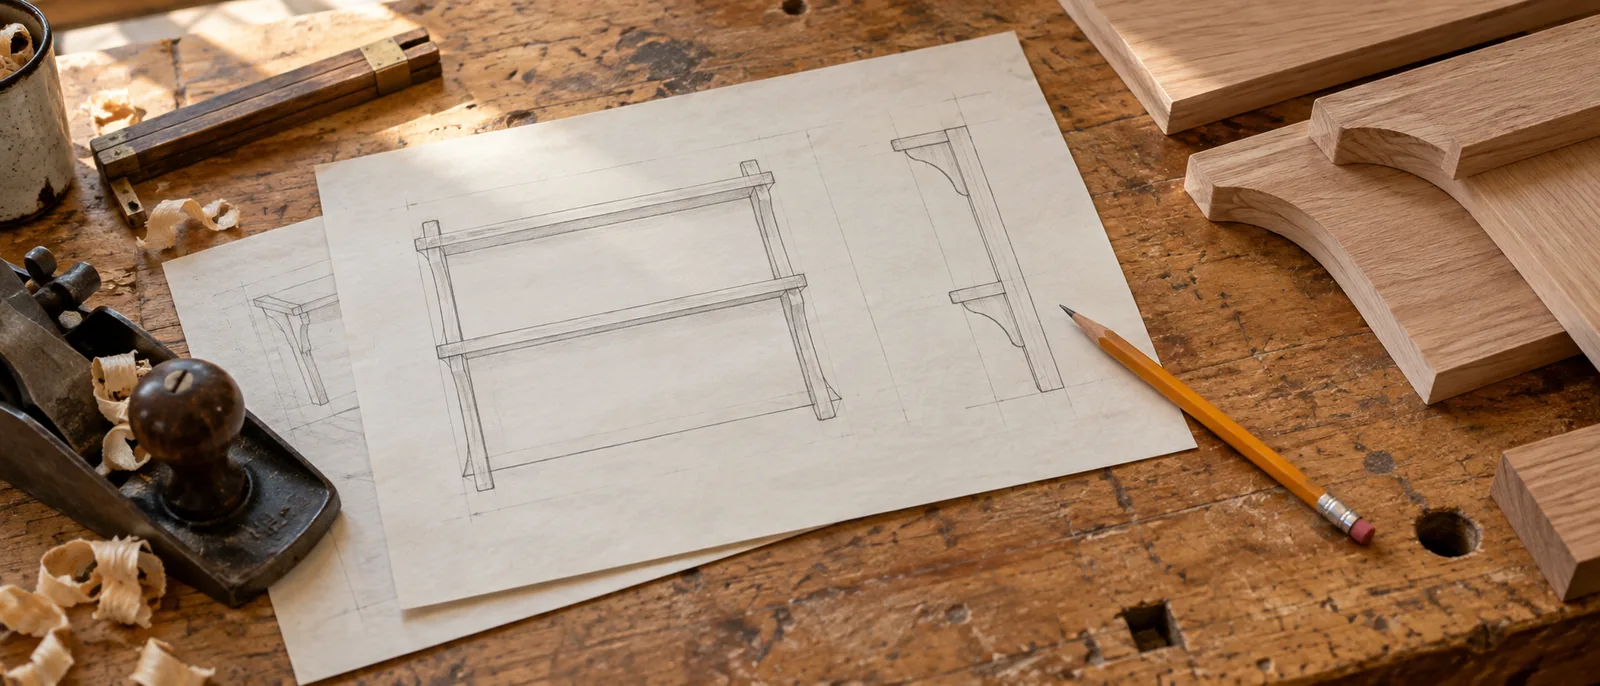
A woodworking plan tells the same story in several ways. The finished drawing shows the destination, the dimensions describe the parts, and the instructions explain how those parts come together.
01 / WORKSHOP PRACTICEFind the finished shape first
Start with the overall drawing. Identify the front, back, top, and sides, then check the finished dimensions. A shelf that looks compact in a picture may be too deep for the place where you want to use it. Measure that space before buying material.
Look at the different views together. A line that looks puzzling from the front may represent a groove or hidden edge that becomes clear in the side view. Read the drawing's key and notes rather than guessing what a symbol means.
02 / WORKSHOP PRACTICEConnect the parts to the cut list
Match each part name or letter to the drawing. Check quantities as well as dimensions: two identical sides are still two pieces of material. Keep an untouched copy of the original list and mark your working copy as parts are prepared.
Find out whether the list gives finished sizes or rough sizes that need further machining. Check the stated units and actual material thickness. Do not measure a drawing on your screen to recover a missing dimension; resizing changes its scale. Resolve missing or conflicting information with the plan's publisher.
03 / WORKSHOP PRACTICENotice how the joints change the sizes
Overall width and individual part length are not always the same. A panel may sit between two sides, overlap them, or extend into grooves. Follow the detail drawing to understand where each measurement begins and ends.
For example, a simple 20-inch-wide box with two actual 3/4-inch sides has 18 1/2 inches between those sides. That calculation applies only if the design places the connecting part between them without additional joint allowances. A different joint changes the answer.
04 / WORKSHOP PRACTICERead assembly before making parts
Trace the assembly order from beginning to end. Some holes, grooves, or interior surfaces become difficult to reach later. Highlight those operations before you start, and note any hardware that needs its own installation instructions.
Make a short sequence for the bench: prepare stock, mark parts, perform the specified operations, check the fit, then assemble. If you change a dimension, trace the effect through every connected part. A wider cabinet may need a different back, shelf, and door—not just a longer top.
Your workshop checklist
Tick these off as you prepare. Checks reset when you reload.
The plan becomes easier to follow when every part on the page has a name and a purpose on the bench. Work out the confusing step before making the expensive cut.
Make it a great day in the shop.