
Refresh Your Cabinets Without Replacing Them
Evaluate the cabinet boxes, hardware, and finish before deciding how far a refresh should go.

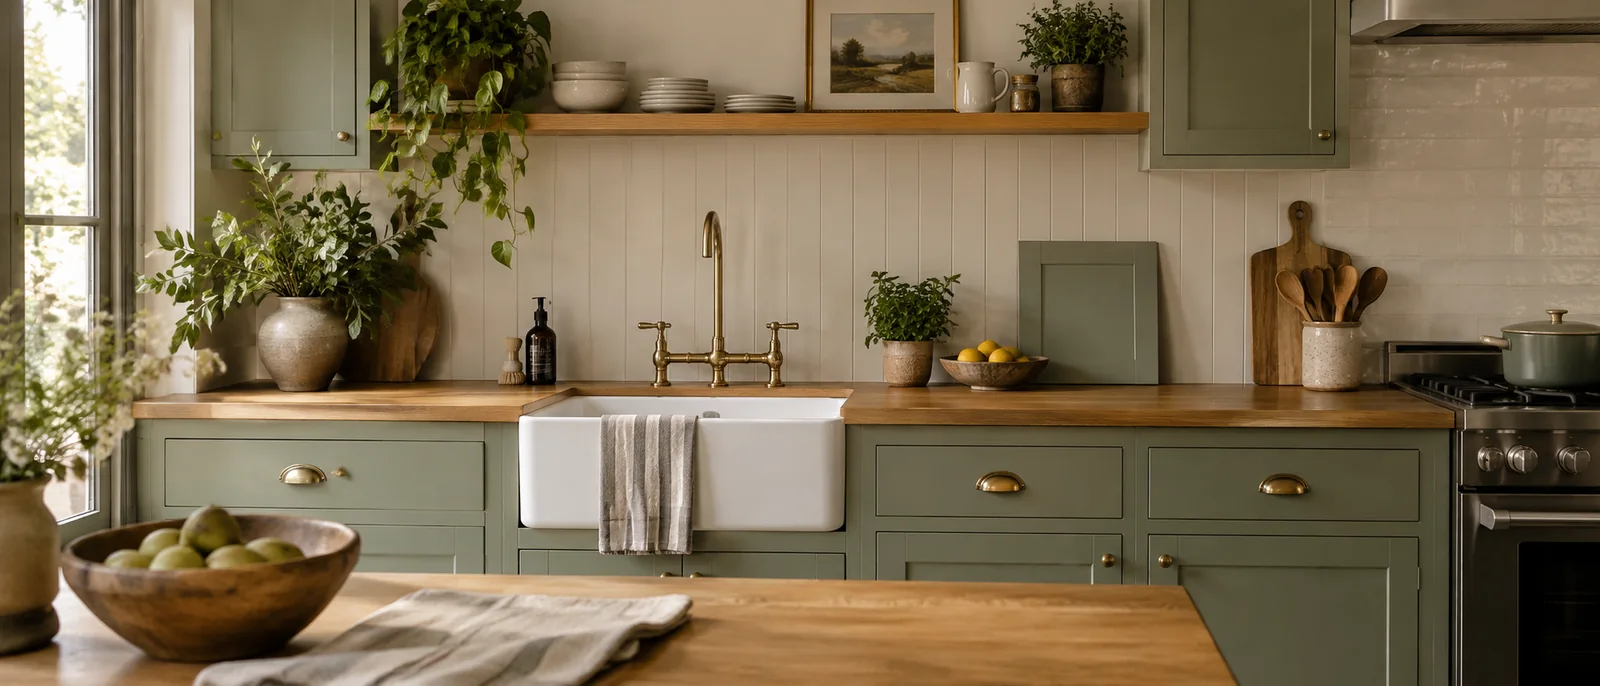
Cabinets occupy a large part of a room’s view, but a tired appearance does not always mean they need replacing. Start by separating cosmetic wear from problems with the boxes, doors, or mounting. A useful refresh builds on sound parts rather than hiding damage beneath a new finish.
01 / HOME PRACTICECheck what is worth keeping
Empty a small section and inspect the boxes, door edges, shelves, and hinges. Look for swelling, loose joints, damaged surfaces, and signs of water entry. A leak or unstable mounting needs attention before you choose a paint color or new handles.
Photograph the room and list the parts you like as well as the problems. Keeping a sound layout and familiar storage can be an advantage. If only the hardware looks dated, test that change first before committing to a much larger finishing project.
02 / HOME PRACTICETry the smallest visible change
Clean an inconspicuous area with a method approved for the existing finish. Check the result before treating every door. Then compare a sample pull or knob against the cabinet, using the existing hole spacing when possible to avoid unnecessary alterations.
Measure mounting-hole centers carefully and confirm screw length for the actual door or drawer front. Open neighboring doors with the sample in place to check clearance. A handle that photographs well can still be awkward to grip or collide with another front.
03 / HOME PRACTICEPlan finishing around the actual surface
Solid wood, veneer, laminate, and previously painted surfaces may need different preparation and coatings. Follow a compatible product system and test it on an inconspicuous area or representative sample. Do not assume that one primer or sanding routine suits every cabinet.
Before disturbing paint in an older home, assess the possibility of lead. EPA recommends lead-safe certified contractors for renovation work in pre-1978 homes. Avoid turning an uncertain old coating into dust as part of a casual weekend refresh.
04 / HOME PRACTICEGive the work time and a clear sequence
If refinishing is appropriate, label removable parts and store hardware by location. Plan where doors will rest, how the room will be ventilated according to product directions, and how the household will use the kitchen while the work is underway.
Follow the coating’s drying, recoating, and curing instructions rather than treating a dry surface as ready for hard use. Reassemble carefully and check each door’s movement. Keep product names and colors with a sample so future touch-ups do not begin with guesswork.
Your home improvement checklist
Tick these off as you prepare. Checks reset when you reload.
Refresh the parts that need attention and keep what already works. A modest, well-planned update can preserve the character and usefulness of the room.
Further reading: EPA: lead-safe renovations for DIYers.
Make your home work a little better.