
Sanding Mistakes That Show Up in the Finish
Check scratches, edges, and surface preparation before a finish makes small sanding problems more noticeable.

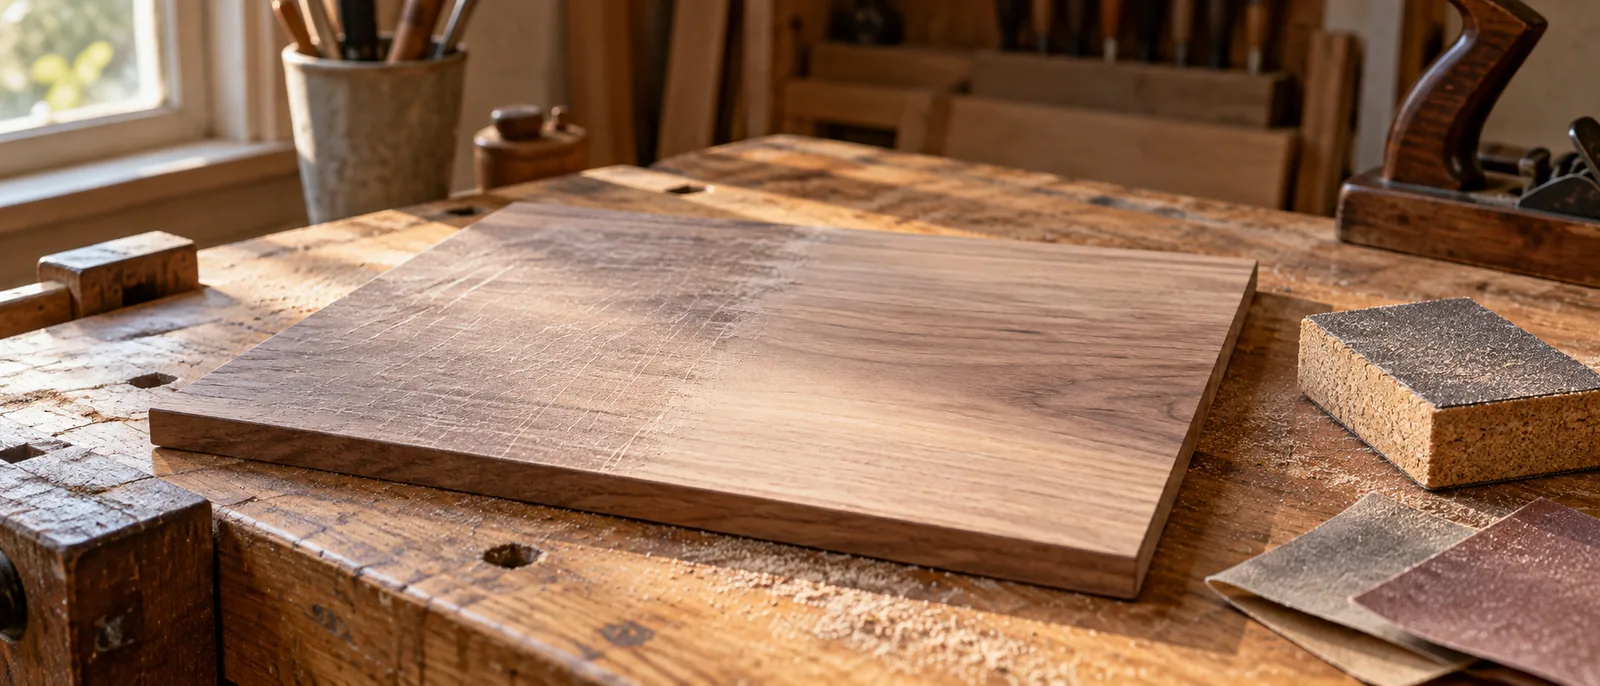
Bare wood can look ready under ordinary shop lighting and still have marks that become obvious later. A deliberate inspection between sanding stages is more useful than rushing through a pile of abrasive sheets.
01 / WORKSHOP PRACTICETreat preparation as part of the finish
Read the finish manufacturer's surface-preparation instructions before choosing your final grit. There is no single grit sequence that suits every wood, surface condition, and finish. Follow product guidance and test your planned preparation on matching scrap.
Do not assume that sanding indefinitely finer always improves the result. General Finishes notes that preparation affects finish performance and provides different recommendations for different materials. Choose a process for the actual project rather than copying a number from an unrelated build.
02 / WORKSHOP PRACTICEInspect before changing grits
Move a light across the surface at a low angle and look for marks that ordinary overhead light hides. Check the whole face, not only the center. If an earlier scratch remains, moving to a finer abrasive does not make it irrelevant.
Use the abrasive and tool according to their instructions, with suitable dust collection and protection. Replace worn or damaged abrasive. Stop to inspect instead of pressing harder to compensate for something that is no longer cutting effectively.
03 / WORKSHOP PRACTICEGive edges and corners their own attention
A flat face and a narrow edge respond differently to the same handling. Pay attention near corners so you do not round over details unintentionally. For a crisp design, inspect the profile regularly instead of discovering the change after applying finish.
Be particularly careful with veneered material, where sanding through the face can expose the layer beneath. Identify what you are working on before beginning. Use the material and finish supplier's preparation guidance rather than treating every panel like a thick solid board.
04 / WORKSHOP PRACTICECheck one complete sample
Prepare an offcut from the actual stock using the same process as the project. Remove dust using a method compatible with the selected finish, then apply the planned finish system according to its instructions. Examine it after the specified drying stages.
Keep notes on the abrasive sequence and what you changed. If the sample shows marks, correct the preparation on another area of scrap before returning to the project. A useful sample answers a specific question; it is more than a quick swipe of color on an unprepared board.
Your workshop checklist
Tick these off as you prepare. Checks reset when you reload.
Good sanding is not measured by how long you keep the tool running. It is measured by the surface you inspect before deciding to move on.
Further reading: General Finishes: preparation and sanding guidance.
Make it a great day in the shop.