
Test Your Finish Before You Touch the Project
Make a labeled sample that records the wood, preparation, color, and topcoat you actually plan to use.

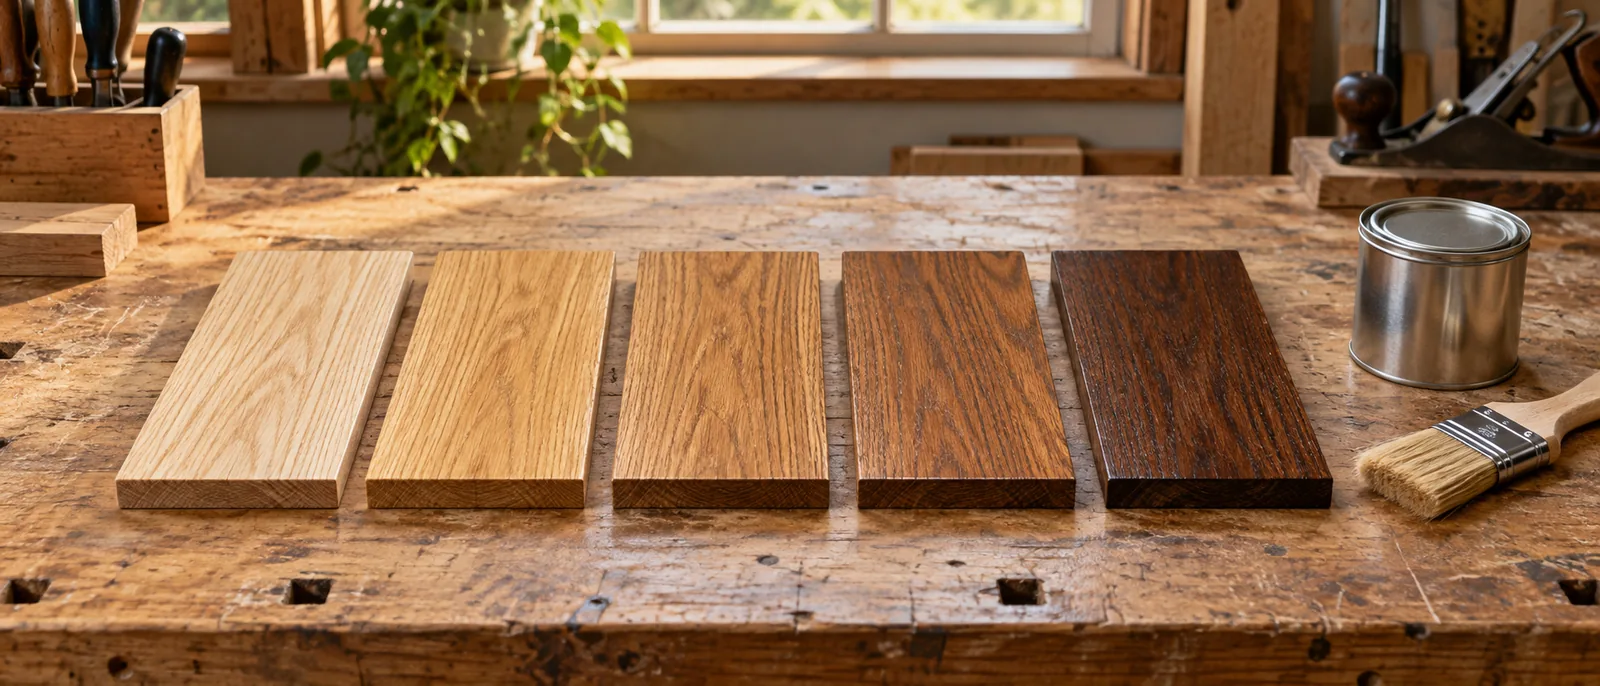
A finish sample is a small version of a big decision. It gives you a place to judge the appearance and practice the process before committing the project you spent the weekend building.
01 / WORKSHOP PRACTICEChoose a representative offcut
Save material from the boards or sheet goods used in the project. A sample on a different species cannot reliably show how your own wood will look. Include relevant features such as end grain or a veneered face if they appear on the finished piece.
Make the sample large enough to compare separate options clearly. Write identifiers on the back before starting. If you are comparing two approaches, give each a defined area or use separate pieces so it remains obvious which process produced which result.
02 / WORKSHOP PRACTICERepeat the actual preparation
Sand the sample as you intend to sand the project. Record the sequence and use compatible dust-removal methods. A carefully prepared project and a rough offcut are different starting surfaces, so a quick test on the latter leaves an important question unanswered.
If the finish system calls for a conditioner, sealer, or other preparation product, include it in the test. Check compatibility in the manufacturer's instructions. General Finishes specifically recommends testing pre-stain treatments and color before starting because preparation can change the result.
03 / WORKSHOP PRACTICETest the complete finish system
Include the planned topcoat, not only the stain. Follow the specified application, drying, and recoating instructions for every product. Do not judge a wet sample as though it were the final appearance, and do not equate dry-to-touch with fully cured.
Label the products and the process so you can reproduce the sample later. Record the application method, number of coats, and any relevant conditions. Follow the labels and safety data sheets for ventilation, protection, and waste handling; oil-soaked rags can present a spontaneous-fire hazard if discarded incorrectly.
04 / WORKSHOP PRACTICEJudge it where the project will live
Once the sample reaches the appropriate stage for evaluation, look at it in the room where the finished project will go. Compare it beside nearby furniture or flooring if coordination matters. Check both daylight and the artificial light normally used there.
Keep the chosen sample with your notes until the project is finished. If you dislike the result, change one variable and test again. That might be the color, the preparation, or the sheen. Changing everything at once makes it harder to learn what improved the result.
Your workshop checklist
Tick these off as you prepare. Checks reset when you reload.
A labeled offcut can save you from guessing twice: once before finishing, and again when you want to repeat a result you liked.
Further reading: General Finishes: stain testing, application, and safe waste handling.
Make it a great day in the shop.